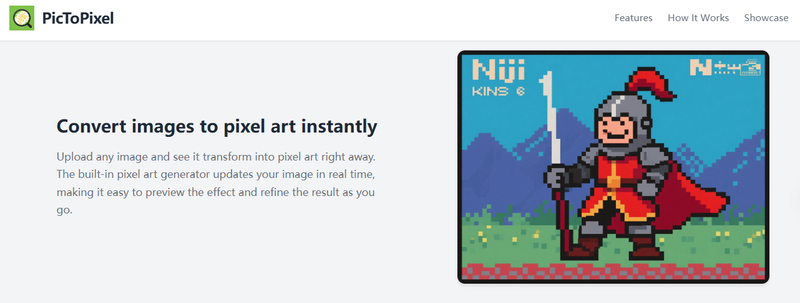
If you have ever wanted to turn your photos into pixel art but did not know where to start, pictopixel.art makes it simple. This free online tool converts any image into that classic retro pixel style in just a few clicks. No software to install, no design skills needed. Just upload, adjust, and download.
What is pictopixel.art?
pictopixel.art is a web-based tool that transforms regular photos into pixel art. Think of those classic video games from the 80s and 90s with the blocky, colorful characters and scenes. That is the aesthetic this tool creates, but with your own images.
The best part is that it is completely free. You do not need to sign up for an account, download anything, or pay for premium features. Just visit the website and start creating right away.
Pixel art has become popular again recently. People use it for profile pictures, social media posts, game graphics, and just for fun. But creating pixel art from scratch takes time and skill. That is where pictopixel.art helps. It does the hard work for you automatically.
How Does pictopixel.art Work?
The process is straightforward and designed to be easy for anyone, regardless of technical experience. Here is what happens when you use the tool.
Step 1: Upload Your Image
Start by selecting any photo from your device. It could be a portrait, a landscape, or a pet photo. Almost any image works. The tool accepts common image formats and processes them quickly.
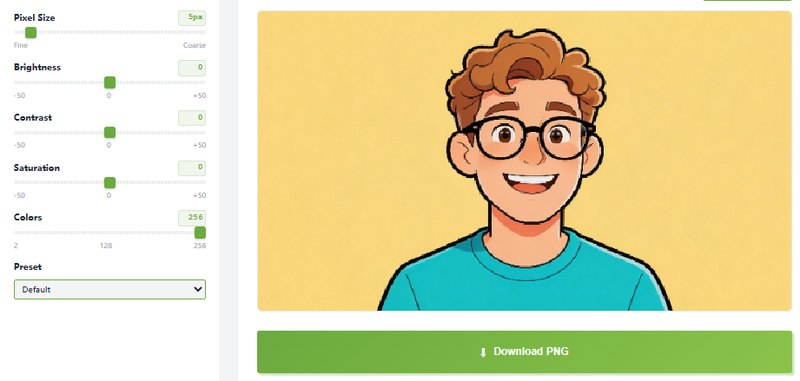
Once uploaded, your image appears on the screen. At this point, you will see it converted to a basic pixel art style automatically. This gives you a starting point to work with.
Step 2: Adjust the Settings
This is where the magic happens. pictopixel.art gives you several sliders to fine-tune how your pixel art looks. Each setting controls a different aspect of the image, and you can see the changes in real-time as you move the sliders.
The sliders work intuitively. Drag to the right to increase a value, or drag to the left to decrease it. This makes it easy to experiment and find the perfect look for your image.
Step 3: Download Your Pixel Art
When you are happy with how everything looks, just click the download button. Your pixel art saves as a PNG file, which is a high-quality format that works well for sharing online or using in projects. The image is ready to use however you like.
Understanding the Settings
To get the best results from pictopixel.art, it helps to understand what each setting does. Let me break down the options available.
Pixel Size (1 to 64)
This is probably the most important setting. Pixel size controls how large or small each block in your pixel art is.
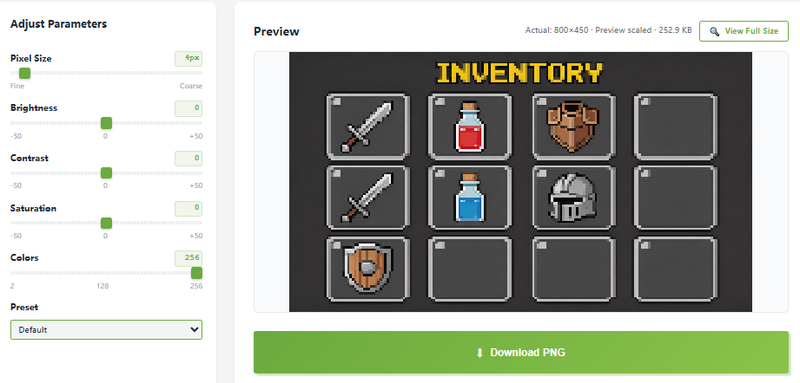
When you set pixel size to a low number like 4 or 8, you get smaller blocks. The image retains more detail and looks closer to your original photo, just with a subtle pixelated effect.
When you increase pixel size to 32 or even 64, the blocks get much larger. The image becomes more abstract and retro-looking. Fine details disappear, replaced by big, chunky pixels. This is great when you want that bold, obvious pixel art style.
For portraits, a medium pixel size often works best. It is large enough to see the effect, but small enough to recognize facial features. For logos or simple graphics, you can go larger for a more dramatic look.
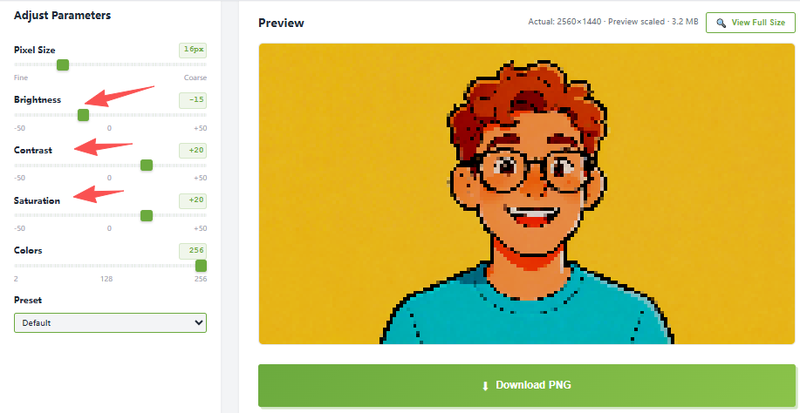
Brightness (-50 to 50)
The brightness slider adjusts how light or dark your image appears overall.
Dragging the slider to the right with positive values makes the image brighter. This can help if your original photo was dark or if you want a cheerful, lively feel.
Dragging to the left with negative values darkens the image. This creates a moodier, more dramatic effect.
The default setting keeps your original brightness level. Small adjustments usually work best. Extreme changes can make the image hard to see or lose important details.
Contrast (-50 to 50)
Contrast controls the difference between the light and dark areas in your image.
Higher contrast when you drag right makes light areas brighter and dark areas darker. This can make shapes stand out more clearly, which often looks good in pixel art. Bold contrasts give images that crisp, graphic quality.
Lower contrast when you drag left reduces the difference between light and dark. The image looks softer and flatter. This can work well for certain vintage or muted styles.
Most pixel art looks good with medium to high contrast, since the blocky nature of pixels already emphasizes shapes over subtle gradients.
Saturation (-50 to 50)
Saturation affects how intense the colors are in your image.
Positive saturation when you drag right makes colors more vivid and vibrant. Reds become redder, blues become bluer. This gives your pixel art energy and punch.
Negative saturation when you drag left reduces color intensity. At extreme negative values, colors can become almost grayscale. This creates a faded, vintage look or a moody black-and-white style.
The GameBoy preset uses low saturation combined with a green color palette to achieve that classic handheld gaming look.
Colors (2 to 256)
This setting limits or expands how many colors appear in your pixel art.
A low number like 8 or 16 means your image uses only that many distinct colors. This creates that authentic retro game feel, where old consoles could only display a limited palette. Images look simpler but more stylistically consistent.
A high number like 128 or 256 keeps more colors from your original image. The result looks more realistic and detailed, while still having the pixelated block style.
Fewer colors can actually make pixel art look better sometimes. The limited palette unifies the image and gives it a specific artistic identity. More colors are useful when you want to preserve the original look while adding a pixel effect.
The Power of Real-Time Preview
One of the best features of pictopixel.art is the real-time preview. As soon as you move any slider, you see the change immediately on your image.
This matters because pixel art settings can be tricky to get right. Without a preview, you would have to guess, download, check, and try again. That would be a slow and frustrating process.
With real-time preview, you can experiment freely. Move a slider, watch what happens, and adjust again. You learn quickly how each setting affects your specific image. It becomes an interactive, creative process rather than a technical chore.
Using Presets for Quick Results
If you are not sure which settings to use, or just want a fast way to get a specific style, pictopixel.art includes preset options. These one-click styles apply a combination of settings designed to achieve a particular look.
Default Preset
The Default preset gives you a standard pixel art conversion without any strong stylistic twists. It is a balanced starting point that works well for most images. Use this when you want a straightforward pixel art effect.
GameBoy Preset
This preset mimics the original Nintendo GameBoy from 1989. That handheld console could only display four shades of green, giving games a distinctive monochromatic look.
The GameBoy preset applies this green color palette and limited colors to your image. It is perfect when you want maximum nostalgia or a specific retro gaming reference.
GameBoy Color Preset
The GameBoy Color console could display thousands of colors, a huge upgrade from the original. This preset keeps the blocky pixel style but preserves much more color variety from your image.
Use this when you like the pixelated retro look but do not want to lose the colors that make your image what it is.
Vintage Preset
Not all pixel art needs to look like a video game. The Vintage preset creates an old, faded photograph aesthetic. Colors become muted and slightly desaturated, like a photo found in an old shoebox.
This preset works beautifully for portraits and sentimental images where you want a nostalgic, emotional feel rather than a playful gaming vibe.
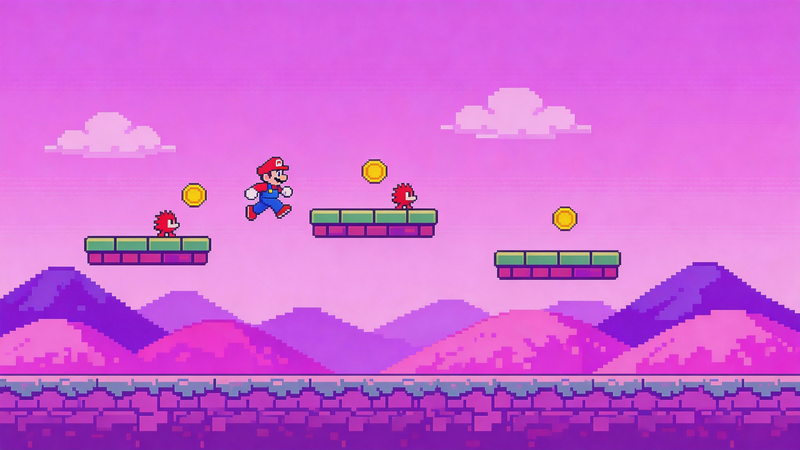
NES 8-Bit Preset
The Nintendo Entertainment System (NES) defined 8-bit gaming for a generation. Games like Super Mario Bros. and The Legend of Zelda used this distinctive style.
The NES preset applies limited, bold colors with strong contrast. Characters look like they could belong in a classic game. This is great for creating sprites or giving images an energetic, arcade feel.
High Contrast Preset
This preset pushes colors and contrast to create bold, eye-catching images. It is not tied to any specific retro console. It is all about visual impact.
High contrast works well for graphics that need to stand out. Profile pictures, logos, thumbnails, or any image viewed at small sizes benefit from this style. The strong shapes and colors grab attention quickly.
Tips for Getting the Best Results
After using pictopixel.art with various images, here are some tips that help.
Start with a good photo. Clear, well-lit images with simple subjects work best. Complex, cluttered photos can get muddy when pixelated.
Use the right subject matter. Faces, pets, logos, and simple objects usually turn out great. Landscapes can work but might need more adjustment.
Experiment with presets first. Try each preset to see what styles fit your image. You can always customize from there.
Adjust pixel size last. Get your colors and contrast right, then tweak pixel size to control how blocky the final image looks.
Download multiple versions. Save a few variations with different settings. You might prefer different versions for different purposes.
View at actual size. Remember where you will use the pixel art. A profile picture needs to be clear at small sizes, while a large image can handle more detail.
Common Uses for pictopixel.art
People use this tool for all kinds of projects.
For social media, profile pictures, posts, and stories stand out with pixel art. It is unique and eye-catching in a feed full of regular photos.
For game development, indie game creators use it to quickly generate sprites, backgrounds, and assets without drawing each pixel manually.
For content creation, YouTubers and streamers use pixel art for thumbnails, overlays, emotes, and branding elements.
For personal projects, turning family photos into pixel art creates fun, stylized versions of memories. Pet photos are especially popular.
For print and merchandise, pixel art prints well on t-shirts, stickers, posters, and other products. The simple shapes scale well and look good at various sizes.
Why Choose pictopixel.art?
There are other ways to create pixel art, but pictopixel.art offers a combination of features that make it worth trying.
- It is free with no subscriptions, no premium tiers, and no hidden costs.
- No signup is required. You can start using it immediately without creating an account.
- It works in your browser with nothing to download or install. It is accessible from any device.
- Real-time preview lets you see changes instantly as you adjust settings.
- Preset styles let you get specific looks with one click.
- Simple controls with sliders make it easy to understand what each setting does.
The tool focuses on doing one thing well: converting images to pixel art with minimal hassle.
FAQ
Do I need to create an account to use pictopixel.art?
No, you do not need to sign up or create an account. Just visit the website and start using the tool immediately. No personal information is required.
What image formats does pictopixel.art accept?
The tool accepts common image formats including JPG, PNG, and WEBP. If you have an image in a standard format, it should work fine.
Can I use the pixel art I create for commercial purposes?
Since you are starting with your own images, you generally own the resulting pixel art and can use it however you like. However, always ensure you have rights to the original image you are converting.
Why does my pixel art look blurry instead of blocky?
This usually means the pixel size setting is too low. Try increasing the pixel size slider to get larger, more defined blocks. The pixel effect becomes more obvious with larger sizes.
What is the difference between presets and manual settings?
Presets apply a pre-configured combination of settings to achieve a specific style quickly. Manual settings let you control each parameter individually. You can start with a preset and then customize from there. You get the best of both approaches.
Final Thoughts
pictopixel.art makes pixel art accessible to everyone. You do not need artistic skills, expensive software, or hours of practice. Just upload an image, experiment with the sliders and presets, and download something unique.
The real-time preview and simple controls mean you learn as you go. You quickly develop a feel for which settings work for different types of images. What starts as experimentation becomes a creative process.
Whether you are making a profile picture, game graphics, or just having fun with photos, pictopixel.art gives you an easy way to create pixel art that looks good and expresses your style.
Ready to create your own pixel art?