Introduction
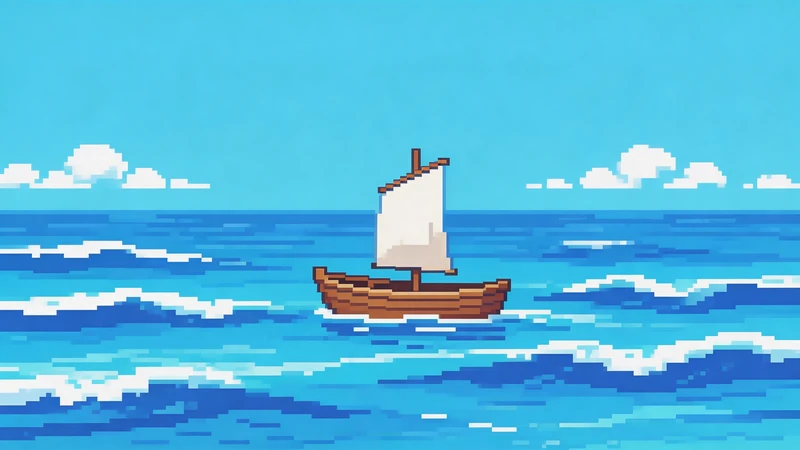
Pixel art has a unique visual style built around simple shapes, limited colors, and carefully placed pixels. Photoshop provides several tools that can help transform ordinary images into pixel-style artwork through resizing, filtering, and color adjustments.
In this guide, you'll learn how to convert an image into pixel art in Photoshop step by step. We'll also introduce a faster online solution for users who want to create pixel artwork without complex editing.
Can You Convert an Image into Pixel Art in Photoshop?
Yes, but the process requires more than applying a single filter. Photoshop allows you to create pixel art effects by combining techniques such as pixelation, resolution adjustments, color reduction, and manual editing.
The final result depends on the original image, the settings you choose, and how much refinement you apply. While simple pixel effects can be created quickly, achieving a more authentic pixel art style often requires additional adjustments with tools like the Pencil Tool.
Method 1: Convert an Image into Pixel Art Using Photoshop Pixelate Filter
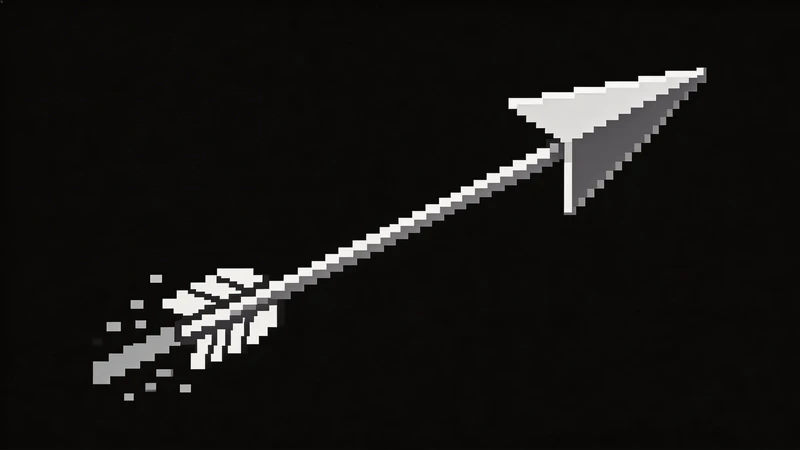
The easiest way to create a pixel art effect in Photoshop is by using the Pixelate filter combined with image resizing and color adjustments. This method works well for beginners because it can quickly transform a regular image into a blocky, retro-style design without manually editing every pixel.
Follow the steps below to convert your image into pixel art.
Step 1: Open Your Image in Photoshop
Start by opening the image you want to convert in Photoshop.
For better results, choose images with:
- Clear subjects
- Strong outlines
- Good contrast
- Simple compositions
Portraits, illustrations, and images with distinct shapes usually produce cleaner pixel art effects because the important details are easier to preserve.
Step 2: Duplicate the Image Layer
Before making any edits, duplicate your original image layer.
Go to: Layer → Duplicate Layer
Working on a copy allows you to make adjustments while keeping the original image unchanged. It also makes it easier to compare the pixel art effect with the original version.
Step 3: Resize the Image for a Pixelated Look
Pixel art is based on a low-resolution style, so reducing the image size is an important step in creating visible pixel blocks.
Go to: Image → Image Size
Then reduce the width and height of your image while keeping the original proportions.
For example:
- Original image: 1000 × 1000 px
- Reduced image: 64 × 64 px or 128 × 128 px
A smaller canvas creates larger pixel blocks and a stronger retro appearance, while a larger canvas keeps more details from the original image.
When resizing, avoid using smooth interpolation methods that can create blurry edges. For pixel-style results, keeping the image sharp is essential.
Step 4: Apply the Pixelate Filter
After reducing the image size, apply Photoshop's Pixelate filter to create a more obvious pixel effect.
Photoshop's Pixelate filters are commonly used for creating block-style effects from images. Adobe also provides a detailed explanation of how to use pixelation techniques in Photoshop for transforming images.
Go to: Filter → Pixelate → Mosaic
Adjust the Cell Size setting based on the style you want.
- Smaller cell sizes preserve more details and create a subtle pixel effect.
- Larger cell sizes create stronger pixel blocks with a more classic retro look.
Preview the result and adjust the value until the important details of the image are still recognizable while maintaining the pixelated appearance.
Step 5: Reduce Colors with Posterize
Traditional pixel art usually uses a limited color palette instead of thousands of colors. Reducing the number of colors helps create a cleaner and more authentic pixel style.
In Photoshop, you can use the Posterize adjustment to simplify the colors in your image.
Go to: Image → Adjustments → Posterize
Then adjust the Levels value:
- Lower values create a more simplified, retro-style appearance.
- Higher values preserve more color details from the original image.
Try different settings until the image keeps its main details while achieving a more pixel-art-inspired look.
For a stronger retro effect, you can combine Posterize with additional color adjustments to create a consistent palette.
Step 6: Adjust Contrast and Colors
After applying pixelation and color reduction, fine-tuning the image can help improve the final result.
Useful Photoshop adjustments include:
- Brightness/Contrast — enhance the difference between light and dark areas.
- Hue/Saturation — control color intensity and overall mood.
- Color Balance — adjust the relationship between shadows, highlights, and midtones.
Increasing contrast can make pixel blocks more visible, while adjusting saturation can help create a more vibrant or classic retro appearance.
Once the adjustments are complete, review the image at 100% zoom to check whether important details are still clear.
Method 2: Create More Authentic Pixel Art Using Nearest Neighbor Scaling
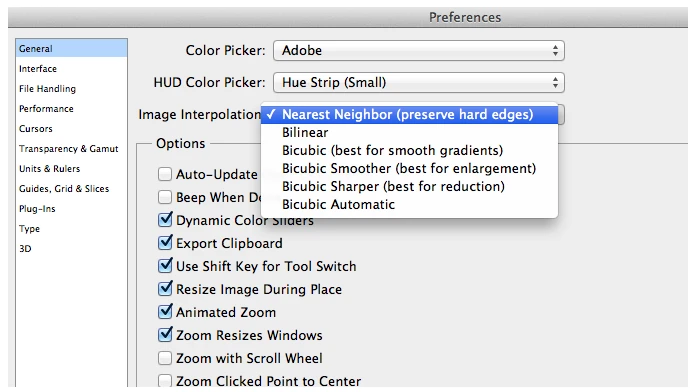
While Photoshop filters can quickly create a pixel-style effect, they do not always produce true pixel art. A more traditional approach is to work with a smaller canvas and scale the image using Nearest Neighbor interpolation, which keeps edges sharp and preserves individual pixels.
This method requires more manual editing but gives you better control over the final result.
Step 1: Resize Your Image to a Smaller Canvas
Start by reducing your image to a low resolution.
Go to: Image → Image Size
Set a smaller width and height, such as:
- 32 × 32 px
- 64 × 64 px
- 128 × 128 px
The ideal size depends on the level of detail you want to keep. Smaller images create a stronger retro game style, while larger sizes allow more details.
Step 2: Refine Details with Pixel-Level Editing
After resizing, zoom in on the image and refine important areas manually.
Use the Pencil Tool with:
- 1px size
- Hard edges
- No anti-aliasing
You can adjust:
- Outlines
- Colors
- Shadows
- Highlights
Manual editing helps remove unwanted details and makes the image look more like intentionally created pixel art rather than a simple filter effect.
Step 3: Scale the Image Back Up with Nearest Neighbor
Once the pixel details are complete, you can enlarge the image while keeping the pixel structure intact.
Go to: Image → Image Size
Under Resample, choose: Nearest Neighbor (Hard Edges)
This prevents Photoshop from smoothing the pixels during resizing and keeps the artwork sharp.
For example: 64 × 64 px → 640 × 640 px
The final image will maintain clear pixel blocks while appearing larger.
Tips for Better Pixel Art Results in Photoshop
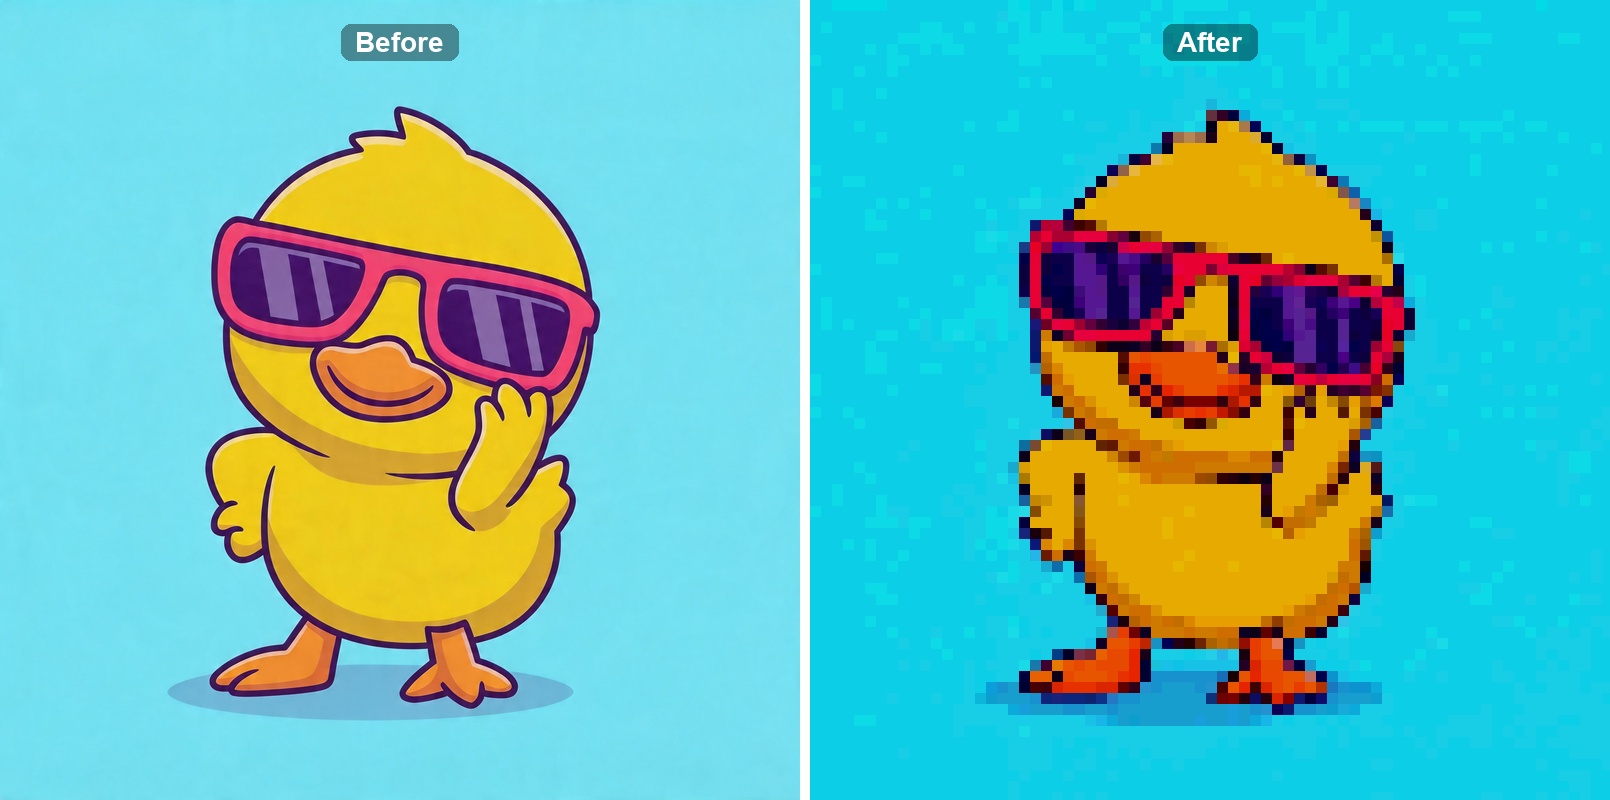
Creating pixel art in Photoshop is not only about applying filters or reducing image size. Small adjustments can make the final result look much cleaner and closer to a true pixel art style.
Use a Limited Color Palette
Pixel art usually works best with a smaller number of colors. Too many colors can make the image look like a regular photo with a pixel filter instead of a designed pixel artwork.
Reducing unnecessary colors helps create clearer shapes, stronger contrast, and a more consistent style.
Avoid Anti-Aliasing
Anti-aliasing creates smooth transitions between edges, which can make pixel art look blurry.
When working with pixel-based designs, use tools and settings that keep hard edges:
- Pencil Tool instead of Brush Tool
- Hard-edged selections
- Nearest Neighbor scaling
This helps preserve sharp pixel boundaries.
Choose the Right Source Image
Not every image converts equally well into pixel art. Images with clear subjects, simple shapes, and strong contrast usually produce better results.
For example, portraits, illustrations, and objects with recognizable outlines are often easier to transform than complex images with many small details.
Common Problems When Converting Images to Pixel Art in Photoshop
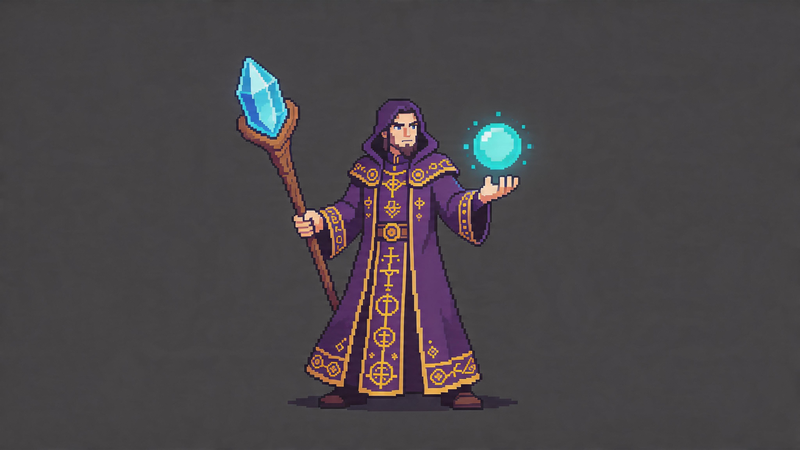
Although Photoshop provides powerful editing tools, converting images into pixel art can sometimes require extra adjustments. Here are some common issues and how to improve the results.
The Result Looks Blurry
A blurry result usually happens when Photoshop applies smooth interpolation during resizing.
To avoid this:
- Use Nearest Neighbor when scaling images.
- Avoid automatic smoothing options.
- Keep pixel edges sharp throughout the editing process.
Important Details Disappear
When an image is reduced to a small size, some details will naturally be removed.
To preserve important elements:
- Start with a clear image.
- Avoid reducing the resolution too aggressively.
- Adjust contrast before pixelation to make key features stand out.
The Result Looks Like a Filter Effect
Photoshop filters can create a pixelated appearance, but the result may not always look like carefully designed pixel art.
For a more authentic style:
- Refine details manually.
- Simplify unnecessary elements.
- Adjust colors with a consistent palette.
A Faster Way to Convert Images into Pixel Art Online
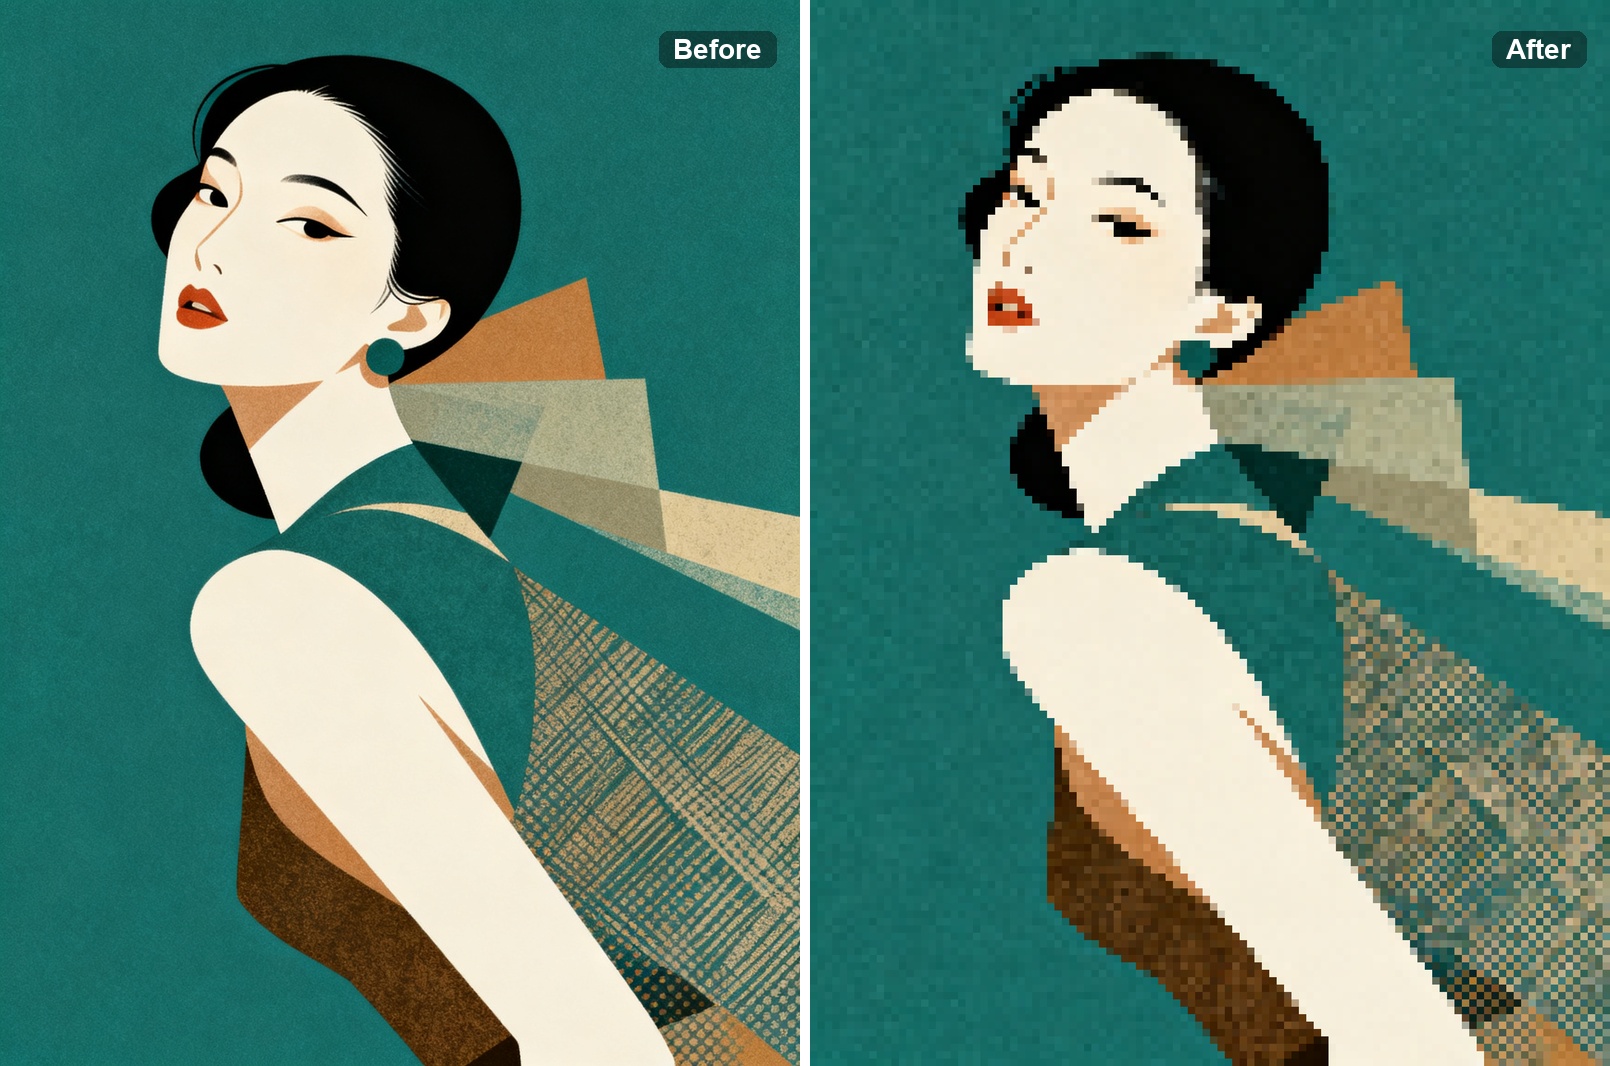
Photoshop provides powerful tools for creating pixel art effects, but the process can involve multiple steps, including resizing images, applying filters, adjusting colors, and refining details manually.
If you already have an image and simply want to transform it into pixel art quickly, an online image-to-pixel-art converter can provide a more convenient workflow.
Convert Images into Pixel Art with PicToPixel
PicToPixel is a free online tool that helps users convert images into pixel art directly in their browser. Instead of manually applying Photoshop filters and adjusting multiple settings, users can upload an image and customize the pixel style through simple controls.
Compared with Photoshop, PicToPixel focuses on speed and simplicity. Photoshop is ideal for creators who need full manual control over every detail, while PicToPixel provides an easier way to convert existing images into pixel art with minimal effort.
How to Convert an Image into Pixel Art with PicToPixel
PicToPixel provides a simpler way to transform images into pixel art without manually adjusting individual pixels. Instead of creating the effect through multiple Photoshop steps, you can upload an image, customize the pixel style, and generate pixel artwork directly in your browser.
Follow the steps below to convert any image into pixel art online.
Step 1: Upload Your Image
Start by uploading the image you want to convert into pixel art.
Images with clear subjects, balanced lighting, and recognizable details usually produce better results. The tool works with different types of images, allowing you to transform existing visuals into a pixel-style design without recreating them from scratch.
Step 2: Adjust the Pixel Size
Pixel size controls how much detail is preserved in the final artwork.
Smaller pixel sizes keep more details from the original image and create a smoother pixel effect, while larger pixel sizes produce bigger pixel blocks with a stronger retro appearance.
Adjust the pixel size until you find the right balance between detail and pixel style.
Step 3: Fine-Tune the Image Settings
After choosing the pixel size, refine the overall look by adjusting the image settings.
You can customize options such as:
- Brightness
- Contrast
- Saturation
- Color settings
These adjustments help improve the clarity of important details and create different pixel art styles while keeping the original image recognizable.
Step 4: Download Your Pixel Art
Once you are satisfied with the result, export your finished pixel artwork.
The entire conversion process happens online, allowing you to quickly turn images into pixel art without installing additional software or manually editing each pixel.
Photoshop vs PicToPixel: Which Method Should You Choose?
Both Photoshop and PicToPixel can help you create pixel-style artwork, but they are designed for different types of workflows.
Photoshop is better suited for users who want full control over the creative process. It allows you to manually adjust individual pixels, refine details, and build artwork from scratch. However, achieving a good result usually requires more time and experience with image editing tools.
PicToPixel focuses on a faster and simpler conversion process. It is designed for users who already have an image and want to transform it into pixel art without manually adjusting every detail.
| Photoshop | PicToPixel | |
|---|---|---|
| Workflow | Manual editing and adjustments | Automatic image-to-pixel-art conversion |
| Learning curve | Requires Photoshop skills | Zero editing skills |
| Pixel control | High-level control over individual pixels | Drag slider to adjust pixel size |
| Best for | Creating pixel art from scratch | Quickly converting existing images |
| Software required | Desktop application | Browser-based tool |
If you enjoy detailed editing and want complete creative control, Photoshop provides more flexibility. However, if your goal is to quickly convert an image into pixel art with minimal effort, PicToPixel offers a more convenient workflow.
Conclusion
Photoshop provides a flexible way to convert images into pixel art through techniques such as resizing, pixelation filters, color adjustments, and manual editing. It is a great option for users who want detailed control over every part of the creative process.
However, creating pixel art in Photoshop can require multiple steps and some experience with image editing. For users who want a faster and simpler way to transform existing images into pixel artwork, online tools like PicToPixel provide a more convenient alternative.
Whether you choose Photoshop for complete creative control or PicToPixel for a quicker conversion workflow, the best approach depends on your goals, experience level, and how much control you want over the final result.
Ready to create your own pixel art?